ZodiacFX + Raspberry pi
En este tutorial se encuentra la documentación que he utilizado para poner en marcha el switch openFlow Zodiac FX controlado desde la raspberryPi.
Preparando la raspberry pi
Desde Linux, introducir miniSD en el lector de tarjetas y ver cuál es el dispositivo correspondiente a miniSD:
$ df -h
Este comando mostrará todas las particiones, hay que localizar la que se corresponde con la memoria miniSD. En particular, en Linux será algo como: /dev/sdX1 montada en /media/nombreUsuario. Por ejemplo, en mi caso: /dev/sdd1.
Si la memoria miniSD tenía grabada otra distribución puede que tenga asociadas varias particiones: /dev/sdX1, /dev/sdX2, etc. En mi caso ya tenía grabada otra distribución Linux, por eso en mi caso se mostraban: /dev/sdd1 y /dev/sdd2. Es necesario desmontar estas particiones antes de grabar. En mi caso:
$ umount /dev/sdd1
$ umount /dev/sdd2
Comprobar que ya no están montadas:
$ df -h
Descargar la imagen de raspian. Yo he probado con raspbian Jessi with pixel (release 2017-04-10).
Grabar la imagen en el dispositivo que hemos detectado como miniSD: /dev/sdX (sin el número):
$ sudo dd bs=4M if=2017-04-10-raspbian-jessie.img of=/dev/sdX
Montar el sistema de ficheros de raspbian para asignar una configuración inicial IP, es necesario modificar el fichero /media/miNombreUsuario/etc/network/interfaces. Vamos a asignar a la raspberry la dirección 10.0.1.8 en la red 10.0.1.0/24, teniendo como gateway la dirección IP 10.0.1.99 que es la que tiene asignada por defecto el switch Zodiac FX.
auto eth0
iface eth0 inet static
   address 10.0.1.8
   netmask 255.255.255.0
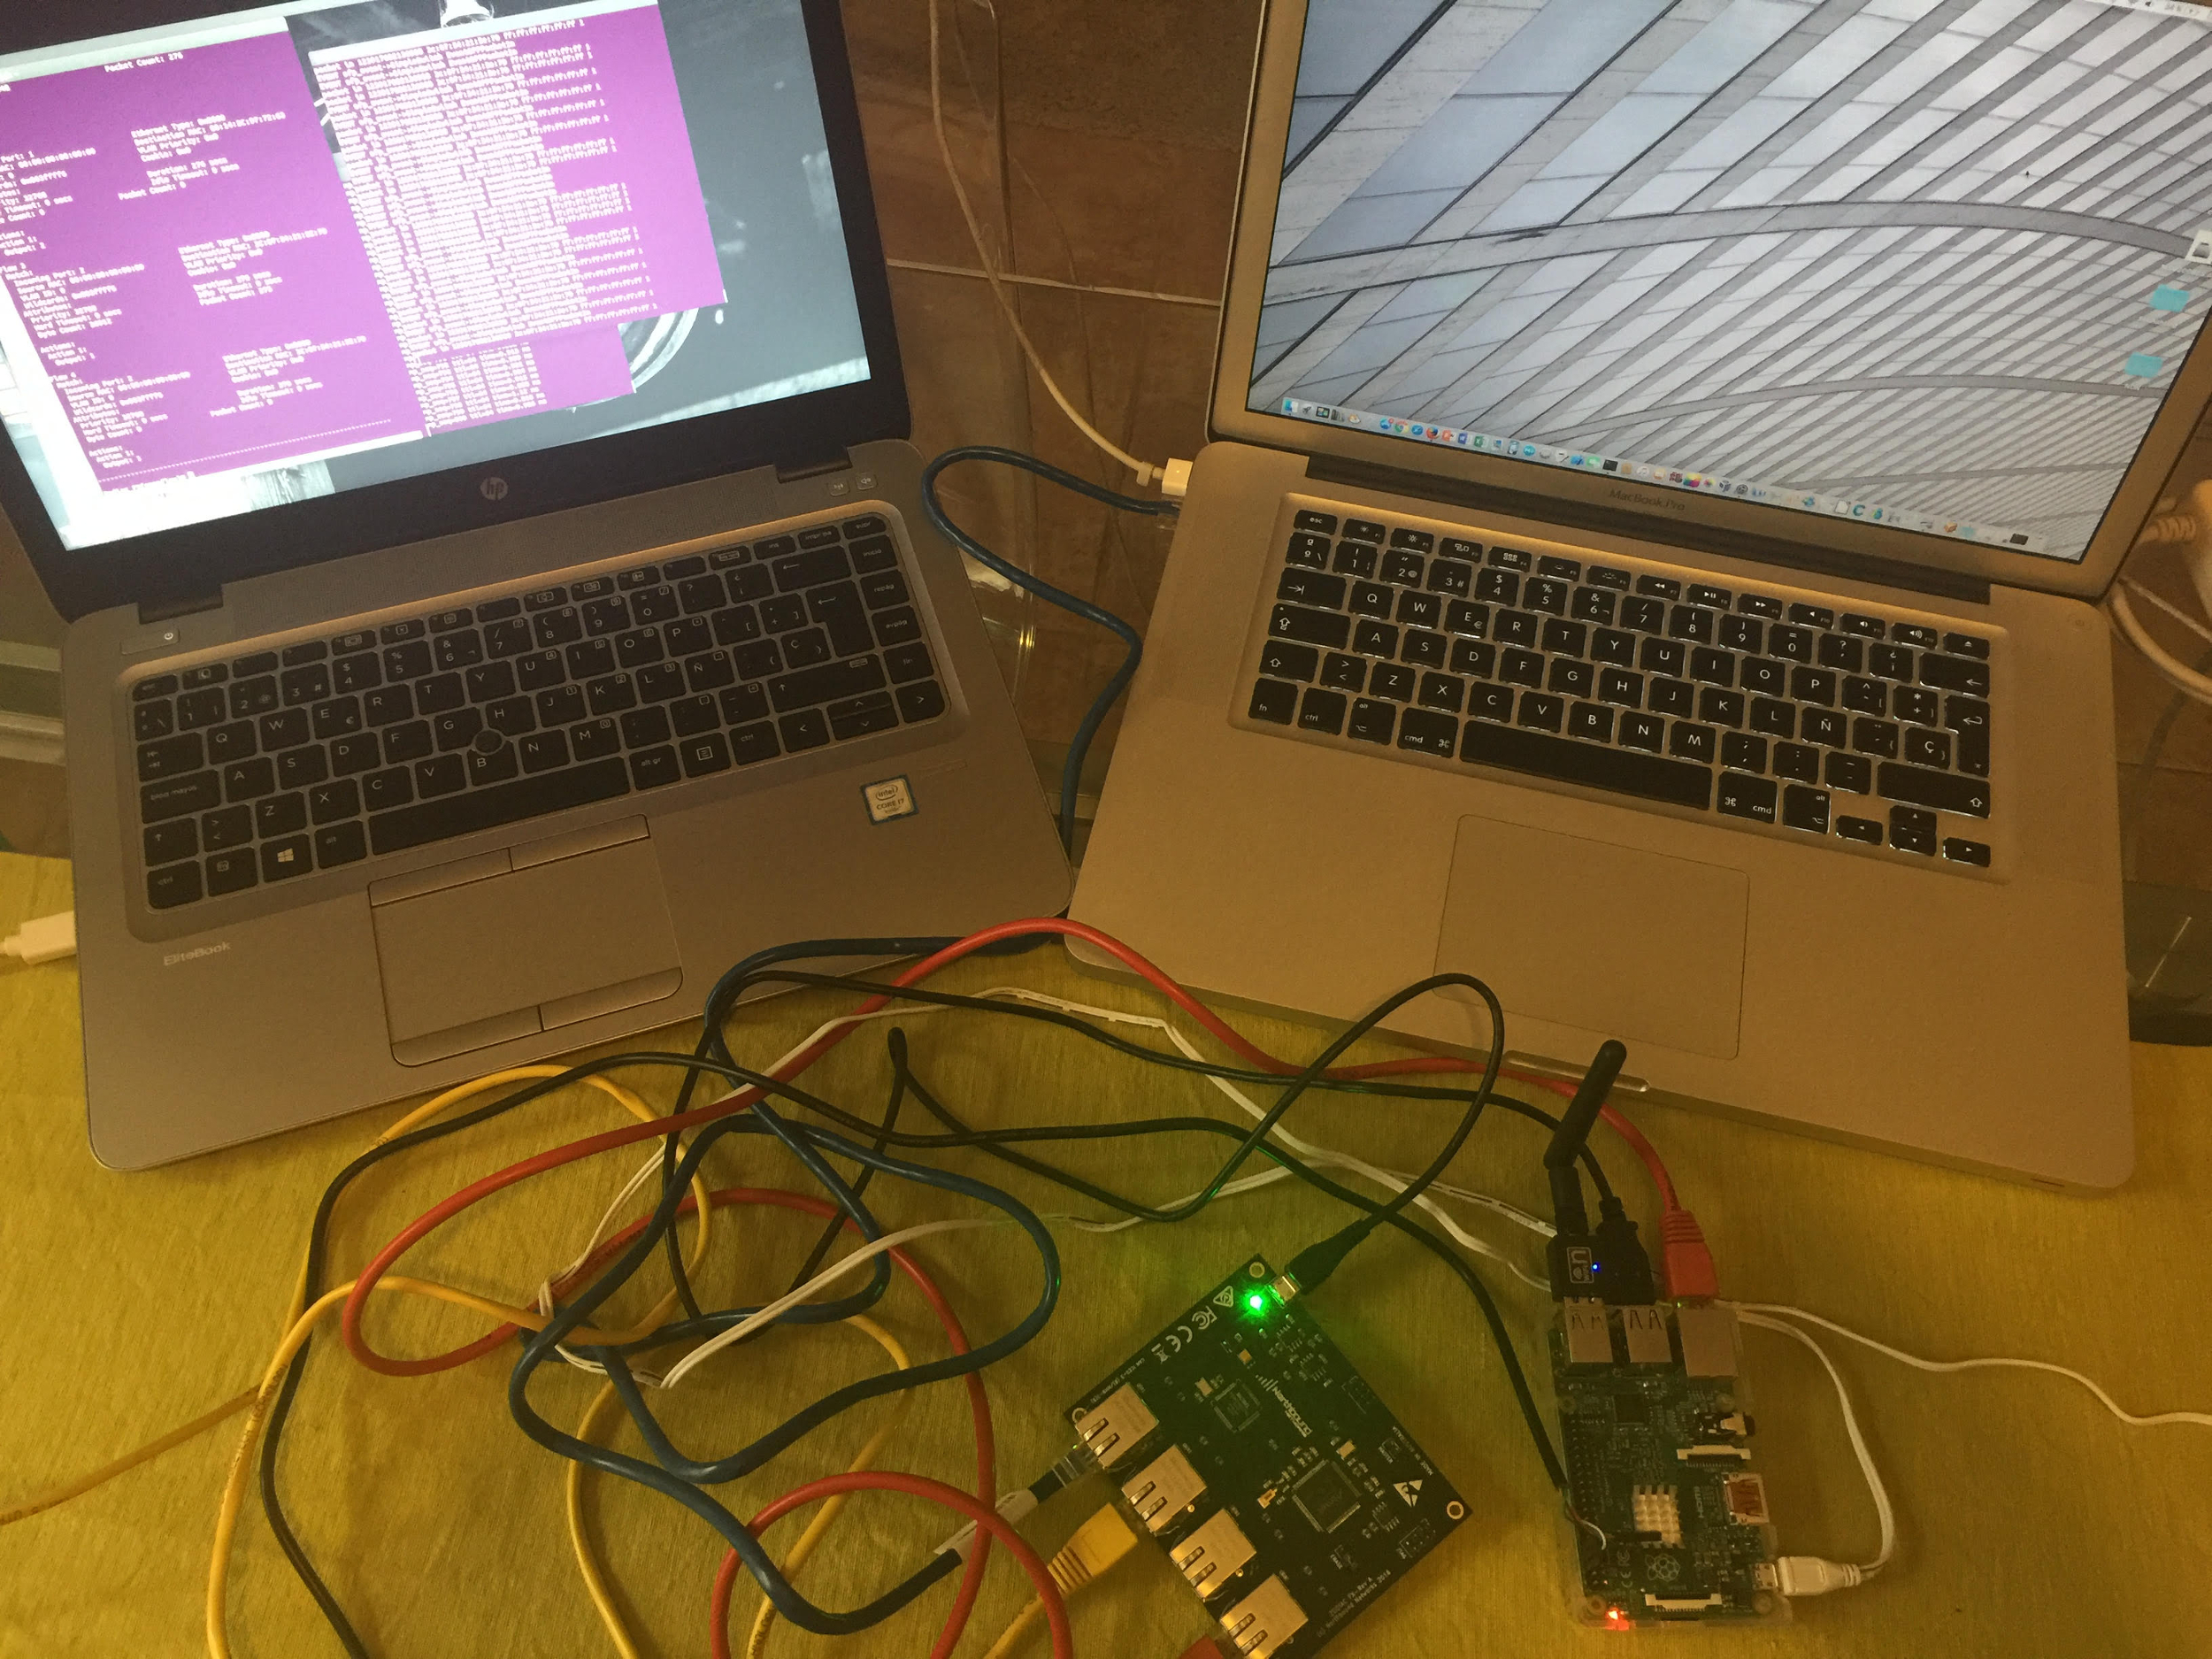
Para probar la raspberry, insertamos la tarjeta miniSD en la rapsberry pi y enchufamos el cable de alimentación. A continuación conectamos el switch Zodiac FZ a un puerto USB de la raspberry pi con el cable de alimentación que trae el switch.
Controlar la raspberry pi
El acceso a la raspberry se puede hacer de varias formas:
Con una pantalla, teclado y ratón para poder conectarlos a la raspberry.
Con un adaptador wifi para el puerto usb de la raspberry. Puedes configurarlo siguiendo estas instrucciones.
Con un cable TTL serial USB.
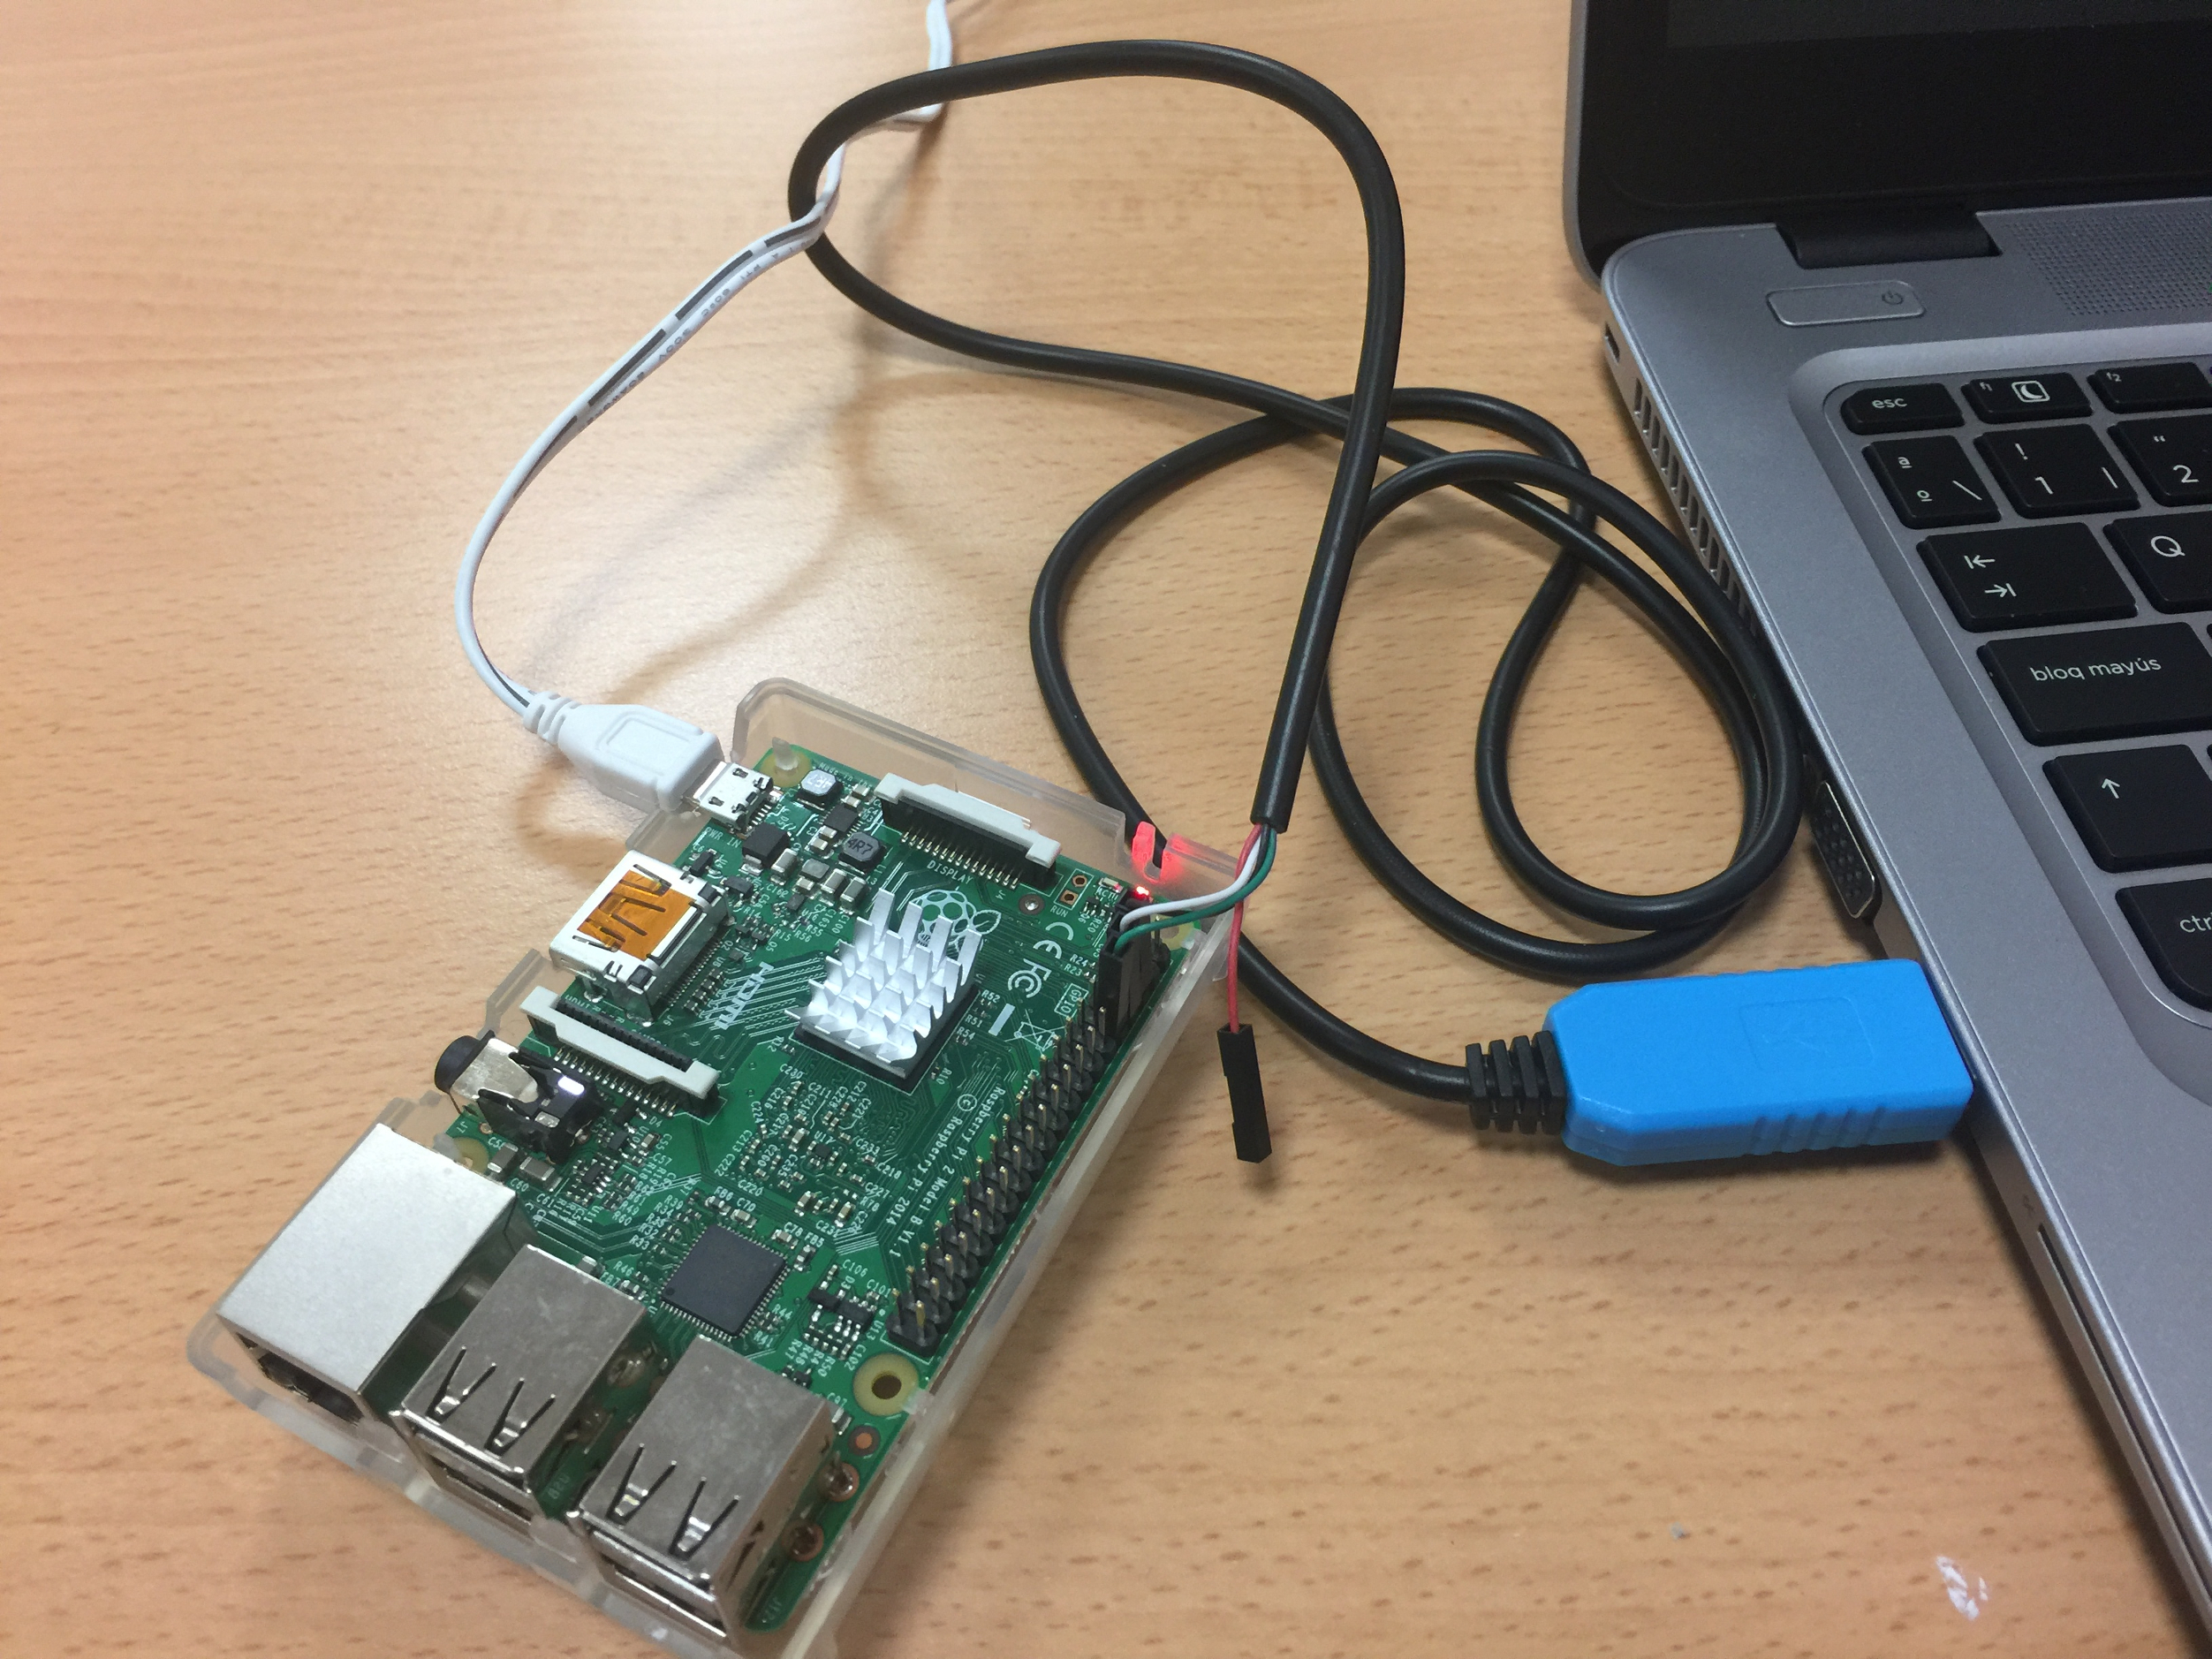
Conectamos el cable a la los pines según las instrucciones y conector USB a una máquina. Desde la máquina usamos el comando:
$ sudo screen /dev/ttyUSB0 115200De esta forma tendremos una consola de la raspberry pi a través del puerto serie. Los datos de usuario por defecto en raspbian son:
usuario: pi
contraseña: raspberry
Comunicación entre raspberry y ZodiacFX
Si se ha instalado wifi en la raspberry pi se puede mantener el cableado como está para descargar paquetes en la raspberry pi. Si no, habrá que conectar el cable de red a un router/switch que permita la conexión de la raspberry pi a Internet (ya sea po DHCP o con una dirección IP fija). Una vez que tenemos conectividad al exterior desde la raspberry pi instalaremos el paquete:
pi@raspberrypi:~$ sudo apt-get install minicom
Este paquete permitirá conectarnos al switch desde la raspberry pi a través del dispositvo ttyACM0.
- Conectar un cable de red de la raspberry pi al puerto 4 del switch
- Conectar el cable USB de Zodiac FX a la raspberry pi para alimentar el switch.
Para verificar la comunicación entre raspberry y switch, desde una consola de la raspberry ejecutar:
pi@raspberrypi:~$ ping 10.0.1.99
Para abrir un terminar con el switch:
  pi@raspberrypi:~$ minicom --device /dev/ttyACM0
   Zodiac_FX# config
   Zodiac_FX(config)# show config

   --------------------------------------------------------------------
   Configuration
    Name: Zodiac_FX
    MAC Address: 70:B3:D5:6C:D7:4C
    IP Address: 10.0.1.99
    Netmask: 255.255.255.0
    Gateway: 10.0.1.1
    OpenFlow Controller: 10.0.1.8
    OpenFlow Port: 6633
    Openflow Status: Enabled
    Failstate: Secure
    Force OpenFlow version: Disabled
    Stacking Select: MASTER
    Stacking Select: Disabled
    EtherType Filtering: Disabled
   -------------------------------------------------------------------
   Zodiac_FX(config)# exit
Ejecutar el comando que visualiza los puertos en el switch, sólo hay un cable conectado en el puerto 4, por eso sólo se muestra ese puerto UP. Observa que por defecto los puertos 1 a 3 se encuentra en la VLAN 100 y el puerto 4 en la VLAN 200:
 Zodiac_FX# show ports

 -------------------------------------------------------------------------

 Port 1
  Status: DOWN
  VLAN type: OpenFlow
  VLAN ID: 100

 Port 2
  Status: DOWN
  VLAN type: OpenFlow
  VLAN ID: 100

 Port 3
  Status: DOWN
  VLAN type: OpenFlow
  VLAN ID: 100

 Port 4
  Status: UP
  VLAN type: Native
  VLAN ID: 200

 -------------------------------------------------------------------------
Ejecutar el comando que muestra el estado del switch
Zodiac_FX# show status
-------------------------------------------------------------------------
Device Status
 CPU UID: 1396060416-1313362771-858796593-892416053
 Firmware Version: 0.72
 CPU Temp: 30 C
 Uptime: 00:08:05
-------------------------------------------------------------------------
Mostrar el estado de openFlow:
Zodiac_FX# openflow
Zodiac_FX(openflow)# show status

-------------------------------------------------------------------------
 Status: Disconnected

-------------------------------------------------------------------------
Ejecutar el comando que muestra los flujos openFlow:
   Zodiac_FX(openflow)# show flows
    No Flows installed!
Instalación de controlador ryu en la raspberry pi
Para instalar el controlador ryu en la raspberry pi es necesario que ésta tenga acceso a Internet:
   pi@raspberrypi:~$ sudo apt-get update
   pi@raspberrypi:~$ sudo apt-get install python-routes python-webob
   pi@raspberrypi:~$ sudo apt-get install python-paramiko python-yaml libpython-dev
   pi@raspberrypi:~$ sudo pip install tinyrpc
   pi@raspberrypi:~$ sudo pip install ovs
   pi@raspberrypi:~$ sudo pip install eventlet==0.19.0
   pi@raspberrypi:~$ sudo pip install ipaddr
   pi@raspberrypi:~$ sudo pip install six
   pi@raspberrypi:~$ git clone git://github.com/osrg/ryu.git
   pi@raspberrypi:~$ cd ryu
   pi@raspberrypi:~$ sudo python ./setup.py install
   pi@raspberrypi:~$ sudo pip install oslo.config
   pi@raspberrypi:~$ sudo pip install --upgrade oslo.config
   pi@raspberrypi:~$ sudo pip install msgpack-python
Para verificar la instalación de ryu:
pi@raspberrypi:~$ ryu-manager --version
Para iniciar el controlador:
pi@raspberrypi:~$ ryu-manager --verbose ryu/ryu/app/simple_switch.py
Si se conectan dos máquinas (con direcciones IP dentro de la subred 10.0.1.0/24) en los puertos 1 a 3 del switch se puede observar cómo hay conectividad entre ellos.
Instalación de controlador faucet-ryu en la raspberry pi
Para instalar el controlador faucet en la raspberry pi es necesario que ésta tenga acceso a Internet:
  sudo apt-get install git minicom libpython-dev python-yaml paramiko
  sudo pip install ipaddr
  sudo pip install --upgrade six
  sudo pip install ryu
  git clone https://github.com/REANNZ/faucet
La versión de ryu-manager debería ser 4.14:
  pi@raspberry:~$ ryu-manager --version
  ryu-manager 4.14
Hay que identificar la carpeta donde se ha instalado Faucet, es decir, donde se encuentra el fichero faucet.py, en nuestro caso es: /home/pi/faucet/faucet/faucet.py. Por tanto, se instalado en /home/pi/faucet/faucet.
Si ZodiacFX's MAC es 70:B3:D5:6C:D7:4C el DPID 0x70b3d56cd74c (todos los dígitos juntos borrando ":" y anteponiendo 0x).
La configuración de faucet y los ficheros de log se pueden dejar en una carpeta, por ejemplo ~/zodiacfx. Crearemos esa carpeta.
La configuración se realiza a través de archivos YAML (YAML Ain't Markup Language). Para ello, hay que crear el fichero faucet.yaml dentro de la carpeta ~/zodiacfx con el siguiente contenido, teniendo en cuenta que dp_id debe ser el identificador del switch:
   vlans:
       100:
           name: "dev VLAN-100"
   dps:
       zodiac-fx-1:
           dp_id: 0x70b3d56cd0c0
           hardware: "ZodiacFX"
           interfaces:
           1:
               native_vlan: 100
           2:
               native_vlan: 100
           3:
               native_vlan: 100
El contenido del fichero anterior tiene 2 partes:
- Definición de VLANS (
vlans) cuyo identificador de vlan (100) queda asociado a su nombredev VLAN-100. - Deficición de Datapath (
dps) que usa un identificador interno como clavezodiac-fx-1y cuyo identificador esdp_id(64 bits en hexadecimal). A continuación se han definido las interfaces de 1 a 3, en modonative_vlan: 100. Esto significa que cualquier tráfico recibido en dichas interfaces se etiquetará con VLAN=100 y cualquier tráfico enviado a través de estas interfaces deberá eliminarse su etiqueta VLAN=100. Las máquinas conectadas a estos puertos estarán utilizando la VLAN=100 sin necesidad de que dichas máquinas tengan configuración específica de esa VLAN. Otro tipo de configuración de interfacestagged_vlanspermite que la interfaz pueda recibir/enviar tráfico que ya viene etiquetado con determinadas VLANs, por ejemplo:tagged_vlans: [10, 20].
A continuación exportamos las variables de entorno, donde se encuentran los ficheros de configuración y arrancamos Faucet. Podemos escribir un scrip de arranque, por ejemplo con el nombre startFaucet.sh:
   #!/bin/bash
   export FAUCET_CONFIG=~/zodiacfx/faucet.yaml
   export FAUCET_LOG=~/zodiacfx/faucet.log
   export FAUCET_EXCEPTION_LOG=~/zodiacfx/faucet_exception.log
   export FAUCET_APP_DIR=/home/pi/faucet/faucet
   export FAUCET_LISTEN_PORT=6633
   export FAUCET_LISTEN_HOST=10.0.1.8
   sudo ryu-manager --ofp-listen-host=$FAUCET_LISTEN_HOST --ofp-tcp-listen-port=$FAUCET_LISTEN_PORT $FAUCET_APP_DIR/faucet.py --verbose
Para arrancar faucet:
 pi@raspberry:~$ ./startFaucet.sh
 lzma module is not available
 Registered VCS backend: git
 Registered VCS backend: hg
 Registered VCS backend: svn
 Registered VCS backend: bzr
 loading app faucet.faucet
 Generating grammar tables from /usr/lib/python2.7/lib2to3/Grammar.txt
 Generating grammar tables from /usr/lib/python2.7/lib2to3/PatternGrammar.txt
 Create CustomEvent called
 loading app ryu.controller.ofp_handler
 instantiating app None of DPSet
 creating context dpset
 creating context faucet_api
 instantiating app faucet.faucet of Faucet
 instantiating app ryu.controller.ofp_handler of OFPHandler
 BRICK dpset
   PROVIDES EventDPReconnected TO {'Faucet': set(['dpset'])}
   PROVIDES EventDP TO {'Faucet': set(['dpset'])}
   CONSUMES EventOFPStateChange
   CONSUMES EventOFPPortStatus
   CONSUMES EventOFPSwitchFeatures
 BRICK Faucet
   CONSUMES EventDPReconnected
   CONSUMES EventFaucetHostExpire
   CONSUMES EventDP
   CONSUMES EventFaucetReconfigure
   CONSUMES EventFaucetResolveGateways
   CONSUMES EventOFPErrorMsg
   CONSUMES EventOFPPacketIn
   CONSUMES EventOFPPortStatus
   CONSUMES EventOFPSwitchFeatures
   CONSUMES EventFaucetAdvertise
   CONSUMES EventFaucetMetricUpdate
 BRICK ofp_event
   PROVIDES EventOFPStateChange TO {'dpset': set(['main', 'dead'])}
   PROVIDES EventOFPErrorMsg TO {'Faucet': set(['main'])}
   PROVIDES EventOFPPacketIn TO {'Faucet': set(['main'])}
   PROVIDES EventOFPPortStatus TO {'dpset': set(['main']), 'Faucet': set(['main'])}
   PROVIDES EventOFPSwitchFeatures TO {'dpset': set(['config']), 'Faucet': set(['config'])}
   CONSUMES EventOFPEchoReply
   CONSUMES EventOFPHello
   CONSUMES EventOFPErrorMsg
   CONSUMES EventOFPEchoRequest
   CONSUMES EventOFPPortStatus
   CONSUMES EventOFPSwitchFeatures
   CONSUMES EventOFPPortDescStatsReply
 EVENT Faucet->Faucet EventFaucetResolveGateways
 EVENT Faucet->Faucet EventFaucetHostExpire
 EVENT Faucet->Faucet EventFaucetMetricUpdate
 EVENT Faucet->Faucet EventFaucetAdvertise
 connected socket:<eventlet.greenio.base.GreenSocket object at 0x7461a430> address:('10.0.1.99', 51509)
 hello ev <ryu.controller.ofp_event.EventOFPHello object at 0x7462c890>
 move onto config mode
 EVENT ofp_event->dpset EventOFPSwitchFeatures
 EVENT ofp_event->Faucet EventOFPSwitchFeatures
 switch features ev version=0x4,msg_type=0x6,msg_len=0x20,xid=0xe9121eb4L,OFPSwitchFeatures(auxiliary_id=0,capabilities=7,datapath_id=123917682136908L,n_buffers=0,n_tables=10)
 move onto main mode
 EVENT ofp_event->dpset EventOFPStateChange
 DPSET: register datapath <ryu.controller.controller.Datapath object at 0x7462c4b0>
 EVENT dpset->Faucet EventDP
 EVENT Faucet->Faucet EventFaucetResolveGateways
 EVENT Faucet->Faucet EventFaucetResolveGateways
 EVENT Faucet->Faucet EventFaucetMetricUpdate
 EVENT Faucet->Faucet EventFaucetHostExpire
 EVENT Faucet->Faucet EventFaucetAdvertise
 EVENT Faucet->Faucet EventFaucetResolveGateways
 EVENT Faucet->Faucet EventFaucetResolveGateways
 EVENT Faucet->Faucet EventFaucetHostExpire
 EVENT Faucet->Faucet EventFaucetAdvertise
 EVENT Faucet->Faucet EventFaucetMetricUpdate
 EVENT Faucet->Faucet EventFaucetResolveGateways
 EVENT Faucet->Faucet EventFaucetResolveGateways
 EVENT Faucet->Faucet EventFaucetHostExpire
 EVENT Faucet->Faucet EventFaucetAdvertise
Inicialmente la configuuración del switch indica que está conectado al controlador:
 Zodiac_FX# openflow
 Zodiac_FX(openflow)# show status

 -------------------------------------------------------------------------
  Status: Connected
  Version: 1.3 (0x04)
  No tables: 8
  No flows: 36
  Total Lookups: 0
  Total Matches: 0

 ------------------------------------------------------